Replace Printhead: Complete Guide for HP and Canon Printers
Printheads are the essential components in inkjet printers that ensure clear text and vibrant images. Over time, print quality may decline due to worn or clogged printheads, making it necessary to replace printhead for reliable printing. This guide provides step-by-step instructions for HP and Canon printers, safety tips, maintenance advice, and troubleshooting strategies to help you maintain professional print quality.
Whether you use the latest HP Smart Tank series or Canon Pixma models, knowing how to replace printhead efficiently can save time, reduce costs, and prevent unnecessary printer damage. Following this guide ensures your printer continues to perform at its best.
What Is a Printhead and Why Replacement Is Important
A printhead is the part of your printer that transfers ink onto paper. It contains tiny nozzles that spray precise amounts of ink to create high-quality prints. Over time, these nozzles may become clogged, or the printhead itself can wear out. Common signs that indicate the need to replace printhead include streaky pages, missing colours, faded prints, or error messages on your printer display.
Ignoring these signs can worsen printer damage, reduce print quality, and increase repair costs. Timely replacement ensures consistent performance, protects your printer, and extends its lifespan. Regular monitoring of print quality and understanding the condition of your printhead are crucial steps for both home and office users.
Tools and Materials You Need
Before attempting to replace printhead, gather the necessary materials. Proper preparation ensures a smooth and safe replacement process.
You will need:
- Compatible replacement printhead for your printer model
- Lint-free cloth or microfiber cloth
- Protective gloves (preferably anti-static)
- Optional cleaning kit to remove residual ink
For certain printer models, small screwdrivers or tools may be needed to access the printhead compartment. Always turn off and unplug the printer before starting.
Safety Tips:
- Avoid touching electrical contacts or nozzles to prevent damage.
- Follow anti-static precautions to protect sensitive components.
- Keep removed printheads properly oriented if storing temporarily.
Having the right tools and following safety measures ensures successful installation and long-term printer performance.
Step‑by‑Step Guide to Replace Printhead on HP Printers
replace printhead the printhead on HP printers, including Smart Tank models, requires careful handling. Follow these steps:
1. Preparation:
Open the printer cover and check that ink cartridges are at least 25% full. Wear gloves and have a clean surface ready.
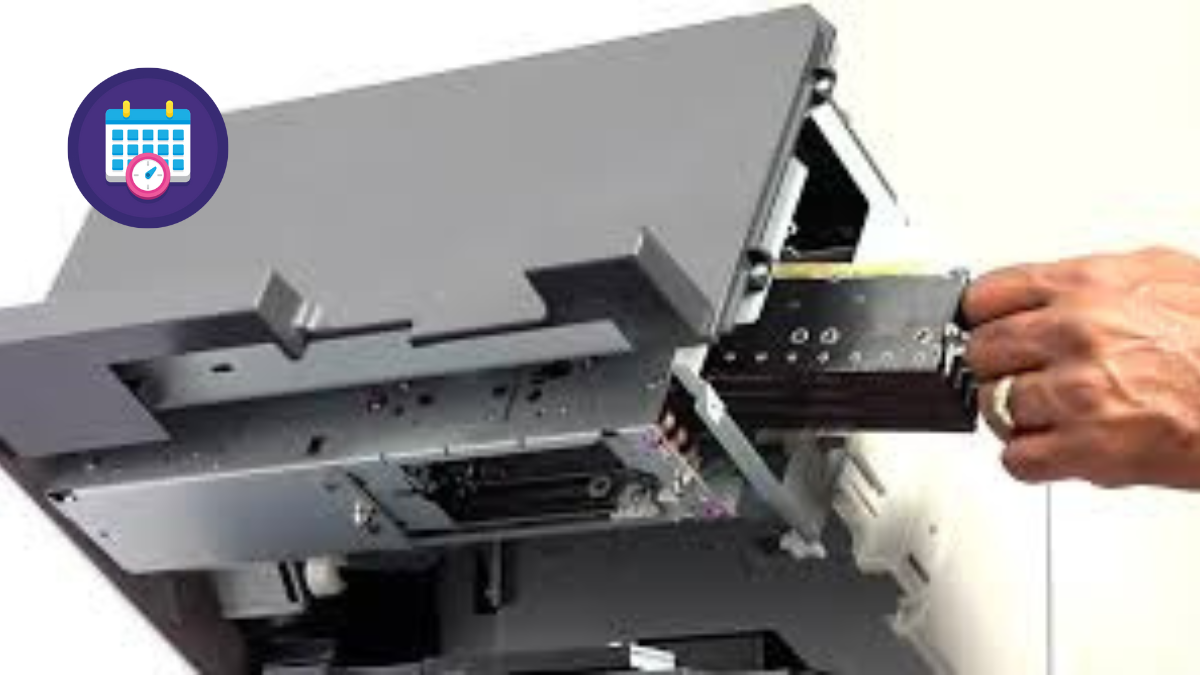
2. Remove the Old Printhead:
Locate the printhead compartment, lift the latch, and carefully pull out the old printhead without touching the nozzles or electronic contacts.
3. Install the New Printhead:
Unwrap the new printhead and remove protective caps. Insert it into the correct slot, press firmly until it clicks, and close the latch securely.
4. Calibrate and Test:
Run the printer’s built-in calibration or alignment procedure. Load the appropriate paper and perform a test print to ensure proper function.
Tips for HP Users:
- If the printer does not recognize the new printhead, reseat it and restart the printer.
- Run a cleaning cycle to remove minor clogs if prints appear streaky.
- Follow the HP printer manual for model-specific error codes or instructions.
By following these steps, you can safely and efficiently replace printhead on HP printers while maintaining print quality.
Step‑by‑Step Guide to Replace Printhead on Canon Printers
Canon Pixma printers follow a similar procedure, with slight differences depending on the model.
1. Preparation:
Turn off and unplug the printer. Wear gloves and confirm the replacement printhead matches your model.
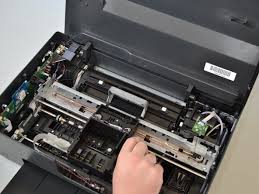
2. Remove the Old Printhead:
Open the printer cover, locate the printhead assembly, lift the latch, and gently remove the old printhead. Avoid touching the nozzles or contacts.
3. Install the New Printhead:
Insert the new printhead into the designated slot, pressing firmly until it fits securely. Close the latch and ensure proper alignment.
4. Test and Align:
Close the printer cover and run the automatic alignment function if available. Print a test page to check for proper ink flow and colour accuracy.
Tips for Canon Users:
- Periodically clean nozzles to maintain printhead performance.
- Use only genuine Canon printheads for optimal reliability.
- Avoid prolonged inactivity to prevent ink clogs.
Replacing the printhead correctly ensures consistent quality and prolongs the life of your Canon printer.
Maintenance Tips to Prolong Printhead Life
Even after replacing printheads, proper maintenance is essential to extend their life:
- Regular Cleaning: Use the printer’s cleaning cycles to prevent clogs.
- Use Genuine Ink: Third-party inks may damage nozzles or reduce print quality.
- Avoid Long Inactivity: Run small prints regularly to prevent ink from drying.
- Proper Storage: Keep removed printheads in sealed containers and oriented correctly.
By following these practices, you can reduce the frequency of replacement and maintain consistent, high-quality prints.
Troubleshooting Common Printhead Issues
After replacing printheads, you may encounter minor issues. Here’s how to address them:
- Printer Not Recognising the Printhead: Ensure it is seated correctly and that all protective tapes are removed.
- Streaky or Missing Colours: Run the cleaning cycle, check ink levels, and confirm printhead compatibility.
- Ink Leaks: Inspect for damage or residual ink, clean surfaces carefully.
- Error Messages: Restart the printer and verify firmware is up-to-date.
Understanding these issues allows users to resolve problems quickly without unnecessary replacements.
Conclusion
Knowing how to replace printhead is essential for maintaining HP and Canon printers. Proper installation, calibration, and routine maintenance ensure printers produce high-quality, vibrant prints while minimizing downtime and repair costs.
By monitoring print quality, performing timely replacements, and following safety and maintenance guidelines, you can extend your printer’s lifespan and ensure professional results consistently. Regular care ensures your printer remains reliable and efficient for years to come.
Frequently Asked Questions
How often should I replace my printhead?
Replace it whenever print quality declines, such as streaks, missing colours, or repeated error messages.
Can I clean a printhead instead of replacing it?
Cleaning works for minor clogs, but a damaged or worn printhead requires replacement.
How much does it cost to replace a printhead?
Costs vary by printer model. Standard HP and Canon printers are usually affordable; high-capacity or professional models may be more expensive.
Will replacing the printhead fix all printing problems?
It resolves issues related to the printhead, but poor-quality ink, incorrect settings, or unsuitable paper can still affect results.
Can I replace the printhead myself?
Yes, following manufacturer instructions carefully. Complex models may require professional assistance.
Is it safe to use third-party printheads?
Genuine printheads are recommended for optimal performance. Third-party units may reduce quality or cause errors.
Also Read: mike crandall